Master Web Push Opt-In Types and User Journeys
If you use web push notifications as a marketing channel for your Shopify store, you’ll have a lot on your plate— from running campaigns to monitoring your abandoned cart recovery messages to optimizing your campaigns to bring in more revenue. How your store visitors subscribe to your web push notifications may not be the most important part of web push marketing. But, web push notification opt-ins are a crucial aspect of your web push marketing, ensuring that you can get visitors to subscribe to your Shopify store, grow your subscriber list and eventually, turn them into customers.
With this quick guide, we want to simplify web push notification opt-ins for you and help you optimize your opt-in strategy to increase subscribers.
What is a Web Push Notification Opt-In?
The first step for marketing channels like email, SMS, and web push notifications is to get permission from a potential customer to send them your promotional messages. This is the opt-in process.
Your potential customers have to “opt-in” to your marketing messages by providing information about them. With this, the potential customer is added to your marketing list, making it possible to send messages to them.
For instance, the email opt-in process is highly common and we’ve all stumbled upon a pop-up on a website, asking us to subscribe to their newsletter by providing our personal email address.

Once you’ve filled in your information within the pop-up, the website stores your details, especially email address, within the email list. The website owner can now send you email promotions with this information.
Fairly simple, right?
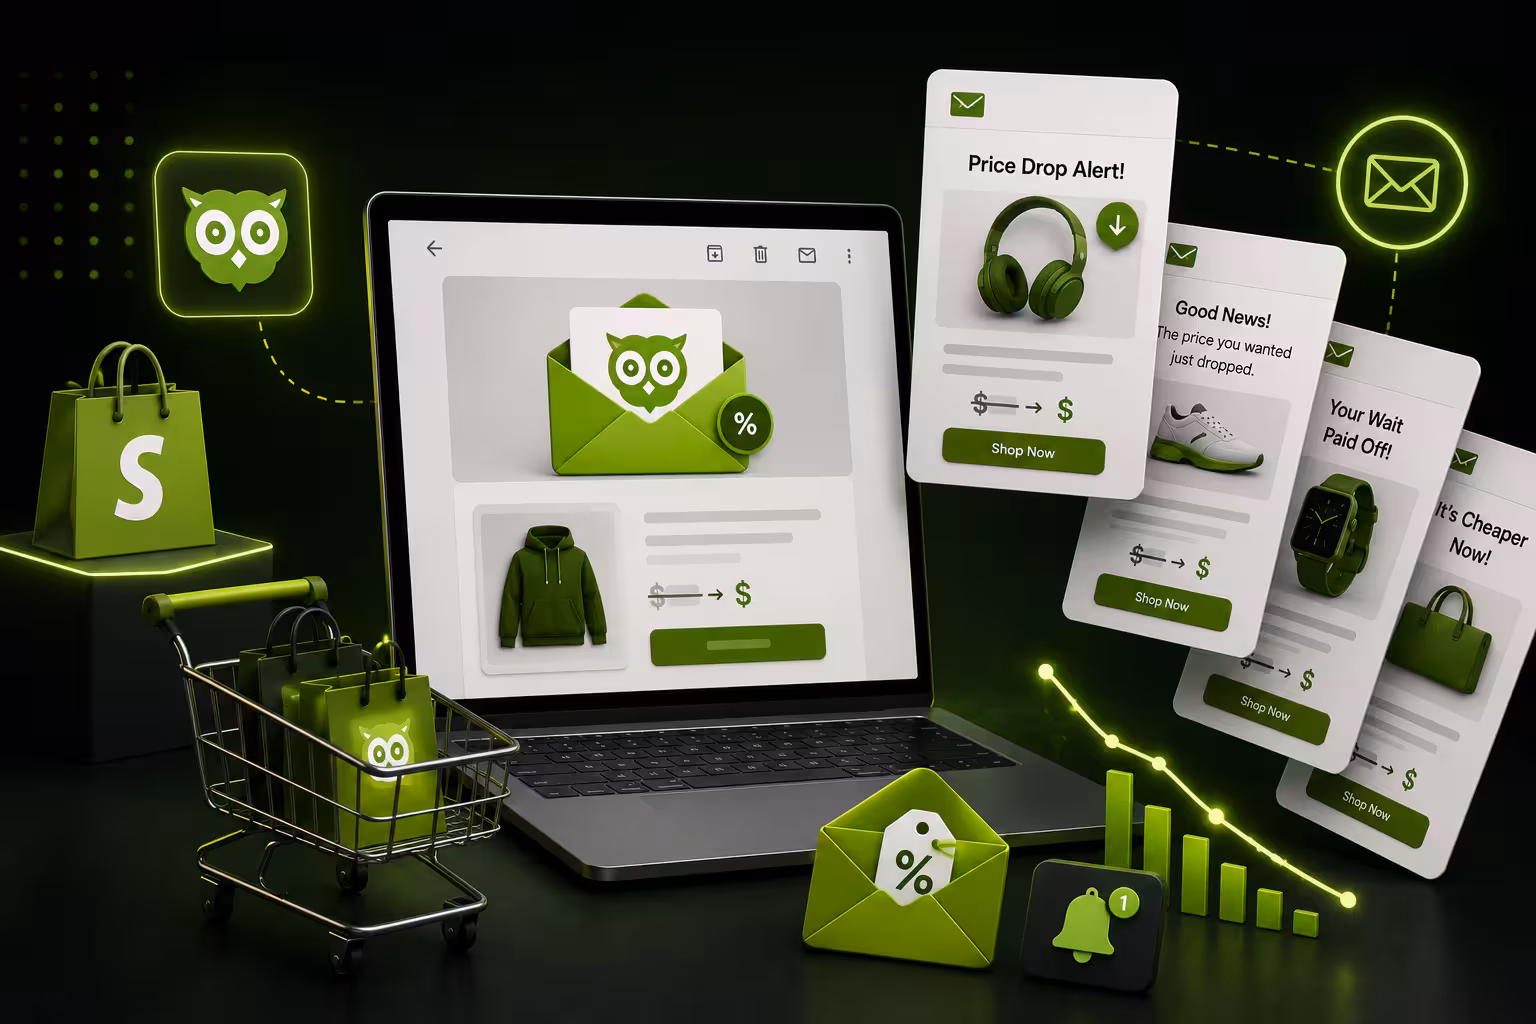
For web push notifications, the opt-in process involves the store visitors clicking “Allow”. Once the visitor opts in, their browser information is stored so that you can send them web push notifications. The opt-in for web push notifications is called a browser prompt.
Let’s dive into what the browser prompt looks like and how it works in detail.
Technical Requirement for Web Push Opt-in— Native Browser Prompt
If you have enabled web push notifications on your store, your store visitor will be shown the browser prompt a few seconds after they land on your website. The appearance of this browser prompt depends on the device and browser that the visitor is on and it cannot be customized.
Here’s how the browser prompt looks on different devices and browsers:

As the merchant, you can only change when the browser prompt shows up on your website. You can set a timer for when the browser prompt will be shown to your visitors on desktop and mobile devices. By default, the browser prompt is shown after 5 seconds on a desktop and after 10 seconds on a mobile device.
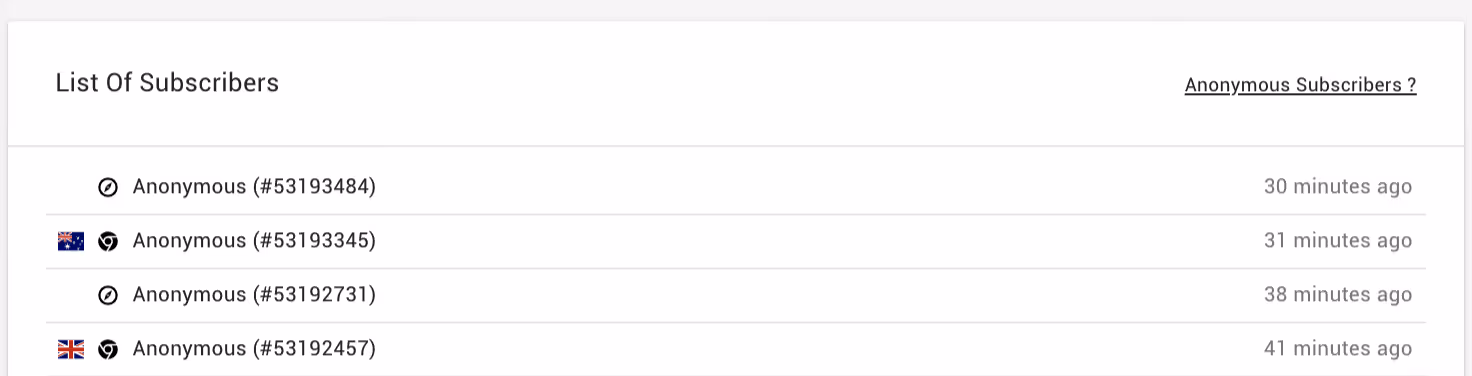
Once the visitor clicks “Allow”, their browser details are stored in the backend and they are added to the subscriber list. Here, you can see which the subscriber’s details— their browser, device, and country.
Hint Screen / Overlay
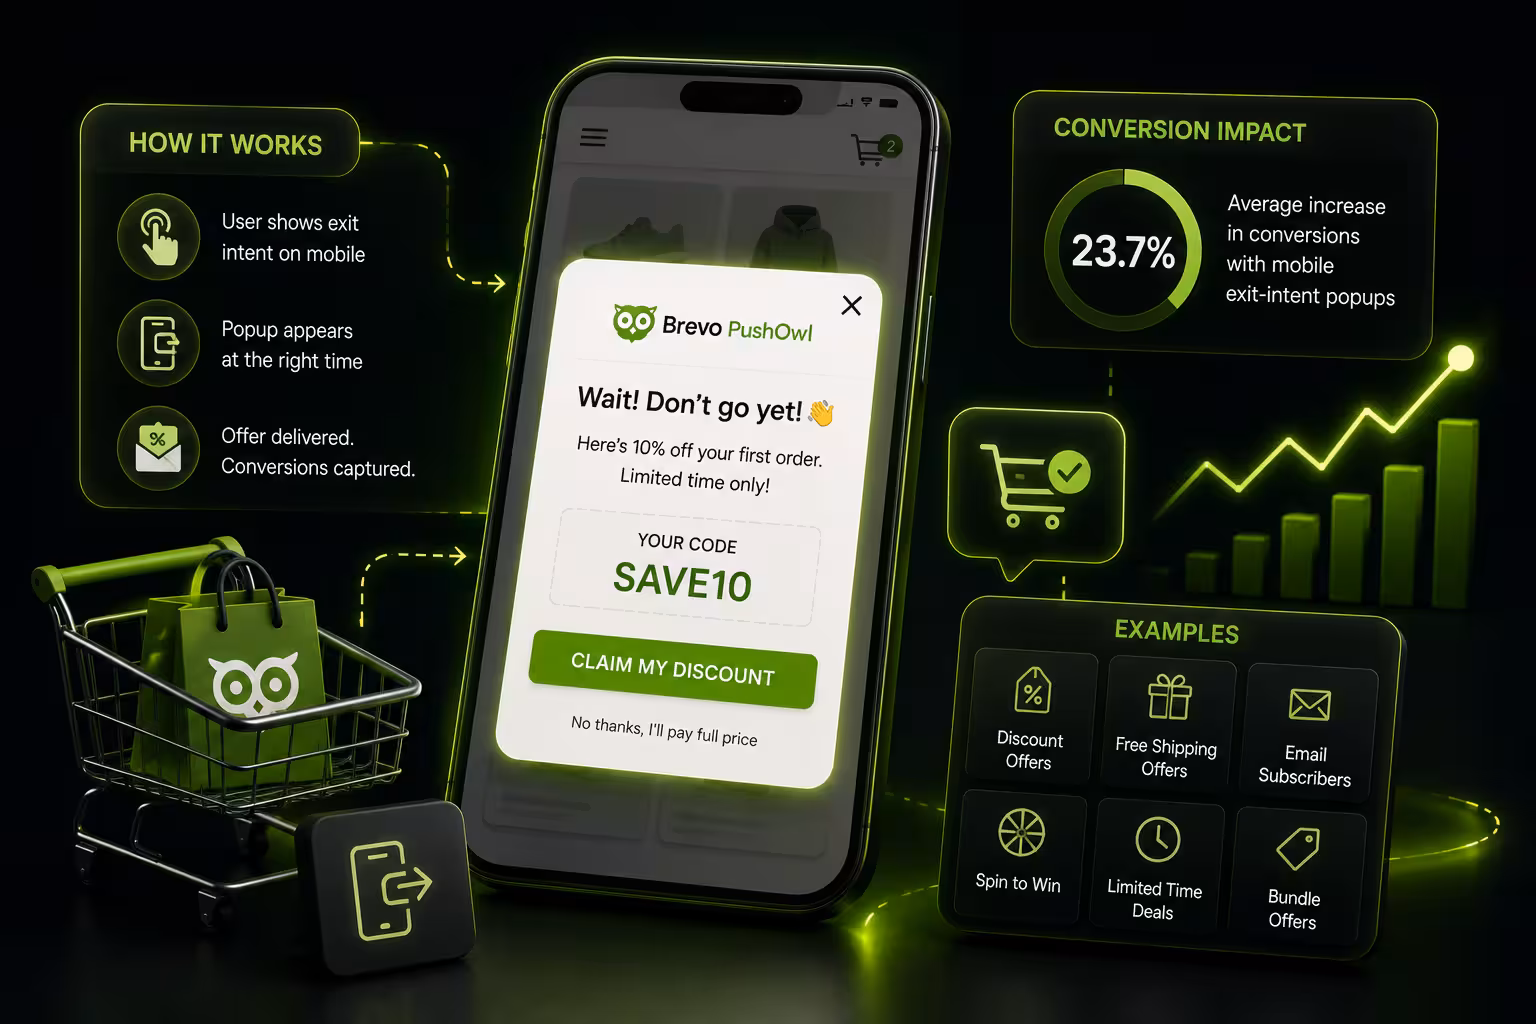
Since you can’t customize the browser prompt nor add any copy to entice the visitor to subscribe, you can choose to enable an overlay / hint screen. When enabled, this overlay is shown to visitors along with the browser prompt.
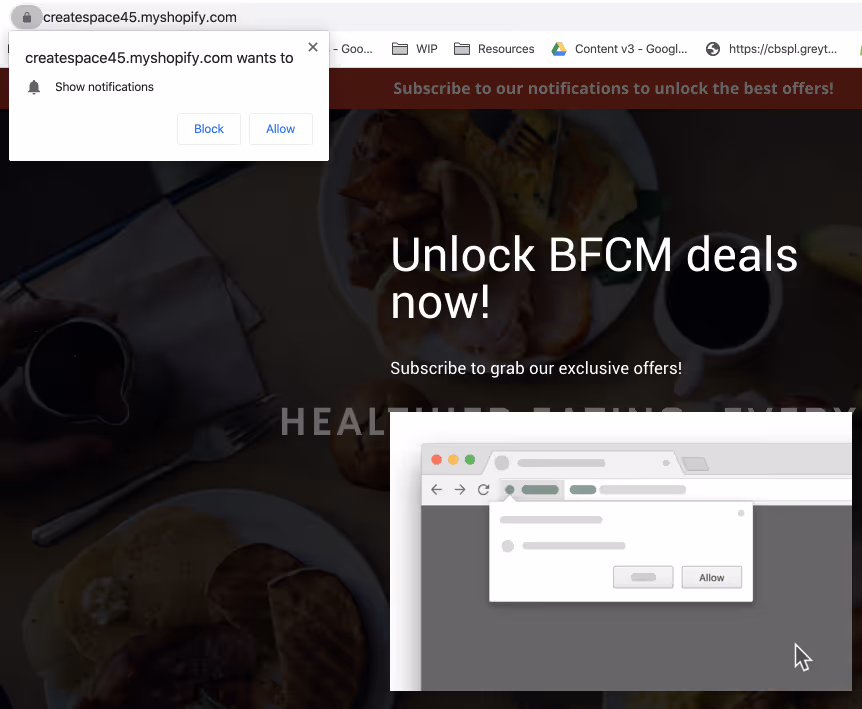
The copy within this overlay is completely customizable. Many merchants use this to reinforce the offers that visitors can unlock just by subscribing.
Since the browser prompt is not customizable, you can set up highly customized opt-ins to grab visitors' attention better and get them to subscribe.
Two Ways to Get Visitors to Subscribe
While the browser prompt is not customizable, you can also enable other ways to capture subscribers by using custom opt-ins. There are 2 opt-in methods you can choose from:
1. Custom Prompt
The custom prompt shows a small white box under the web address area, allowing you to give context before showing the browser prompt. The copy within the opt-in, as well as the color of the “Allow” button, can be customized to fit your preference.
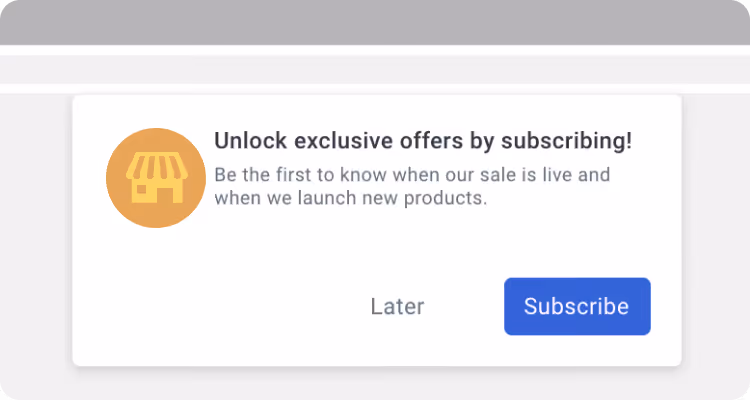
The custom prompt is a great way for merchants to give shoppers more context about what kind of promotional messages they will receive. Customize the copy to let your shoppers know that they will be the first to get exclusive offers and deals that are running on the store. You can even tell them that subscribing will unlock a 30% discount or a free shipping code on their next order.
2. Flyout Widget
The flyout widget is another method that allows you to increase subscriptions. This widget is first shown as a small bell icon at the bottom left of the website. When clicked on, the flyout widget expands, showing a message that entices the visitor to click on the "Allow" button. This button is a fake approval to show the browser prompt to the store visitor.
When the visitor clicks “Allow” on the browser prompt, the flyout widget changes to show a thank you message.
As the merchant, you can customize the copy within the flyout widget— the message shown before subscription, the text for the button, as well as the message after subscription.
While the flyout widget is compact and doesn’t distract visitors while they browse through your store, we highly recommend using the ‘Custom Prompt’. This opt-in grabs visitor attention and will bring more subscriptions for your Shopify store.
Any questions about web push notification opt-ins?
We hope this guide helped you understand how browser prompts work and how important it is to enable a customizable opt-in on your Shopify store.
If you have any more doubts, just reach out to our friendly support team and we’ll be happy to help!